
Trust badges and payment icons in the cart
Add payment provider icons or a custom image strip near the checkout button to reduce purchase anxiety.
Trust badges and payment icons sit near the checkout button to reassure customers their payment is safe before they click checkout. Open Cart Editor → Trust Badges to configure them.
You have two options: pick from the built-in library of payment icons (and select multiple), or upload your own custom image.
Enable Trust Badges
- In the Oxify app, go to Home and click Manage Cart Drawer (or Set up Cart Drawer) on the Cart Drawer card to open the Cart Editor.
- In the Cart Editor's left sidebar, click Trust Badges.
- At the top of the panel, click Enable. When enabled, the header reads Trust Badges active with an On badge and a red Disable button next to it (clicking it turns the feature off again).
- Pick icons from the library or upload an image (below), set the icon styles, and click Save.
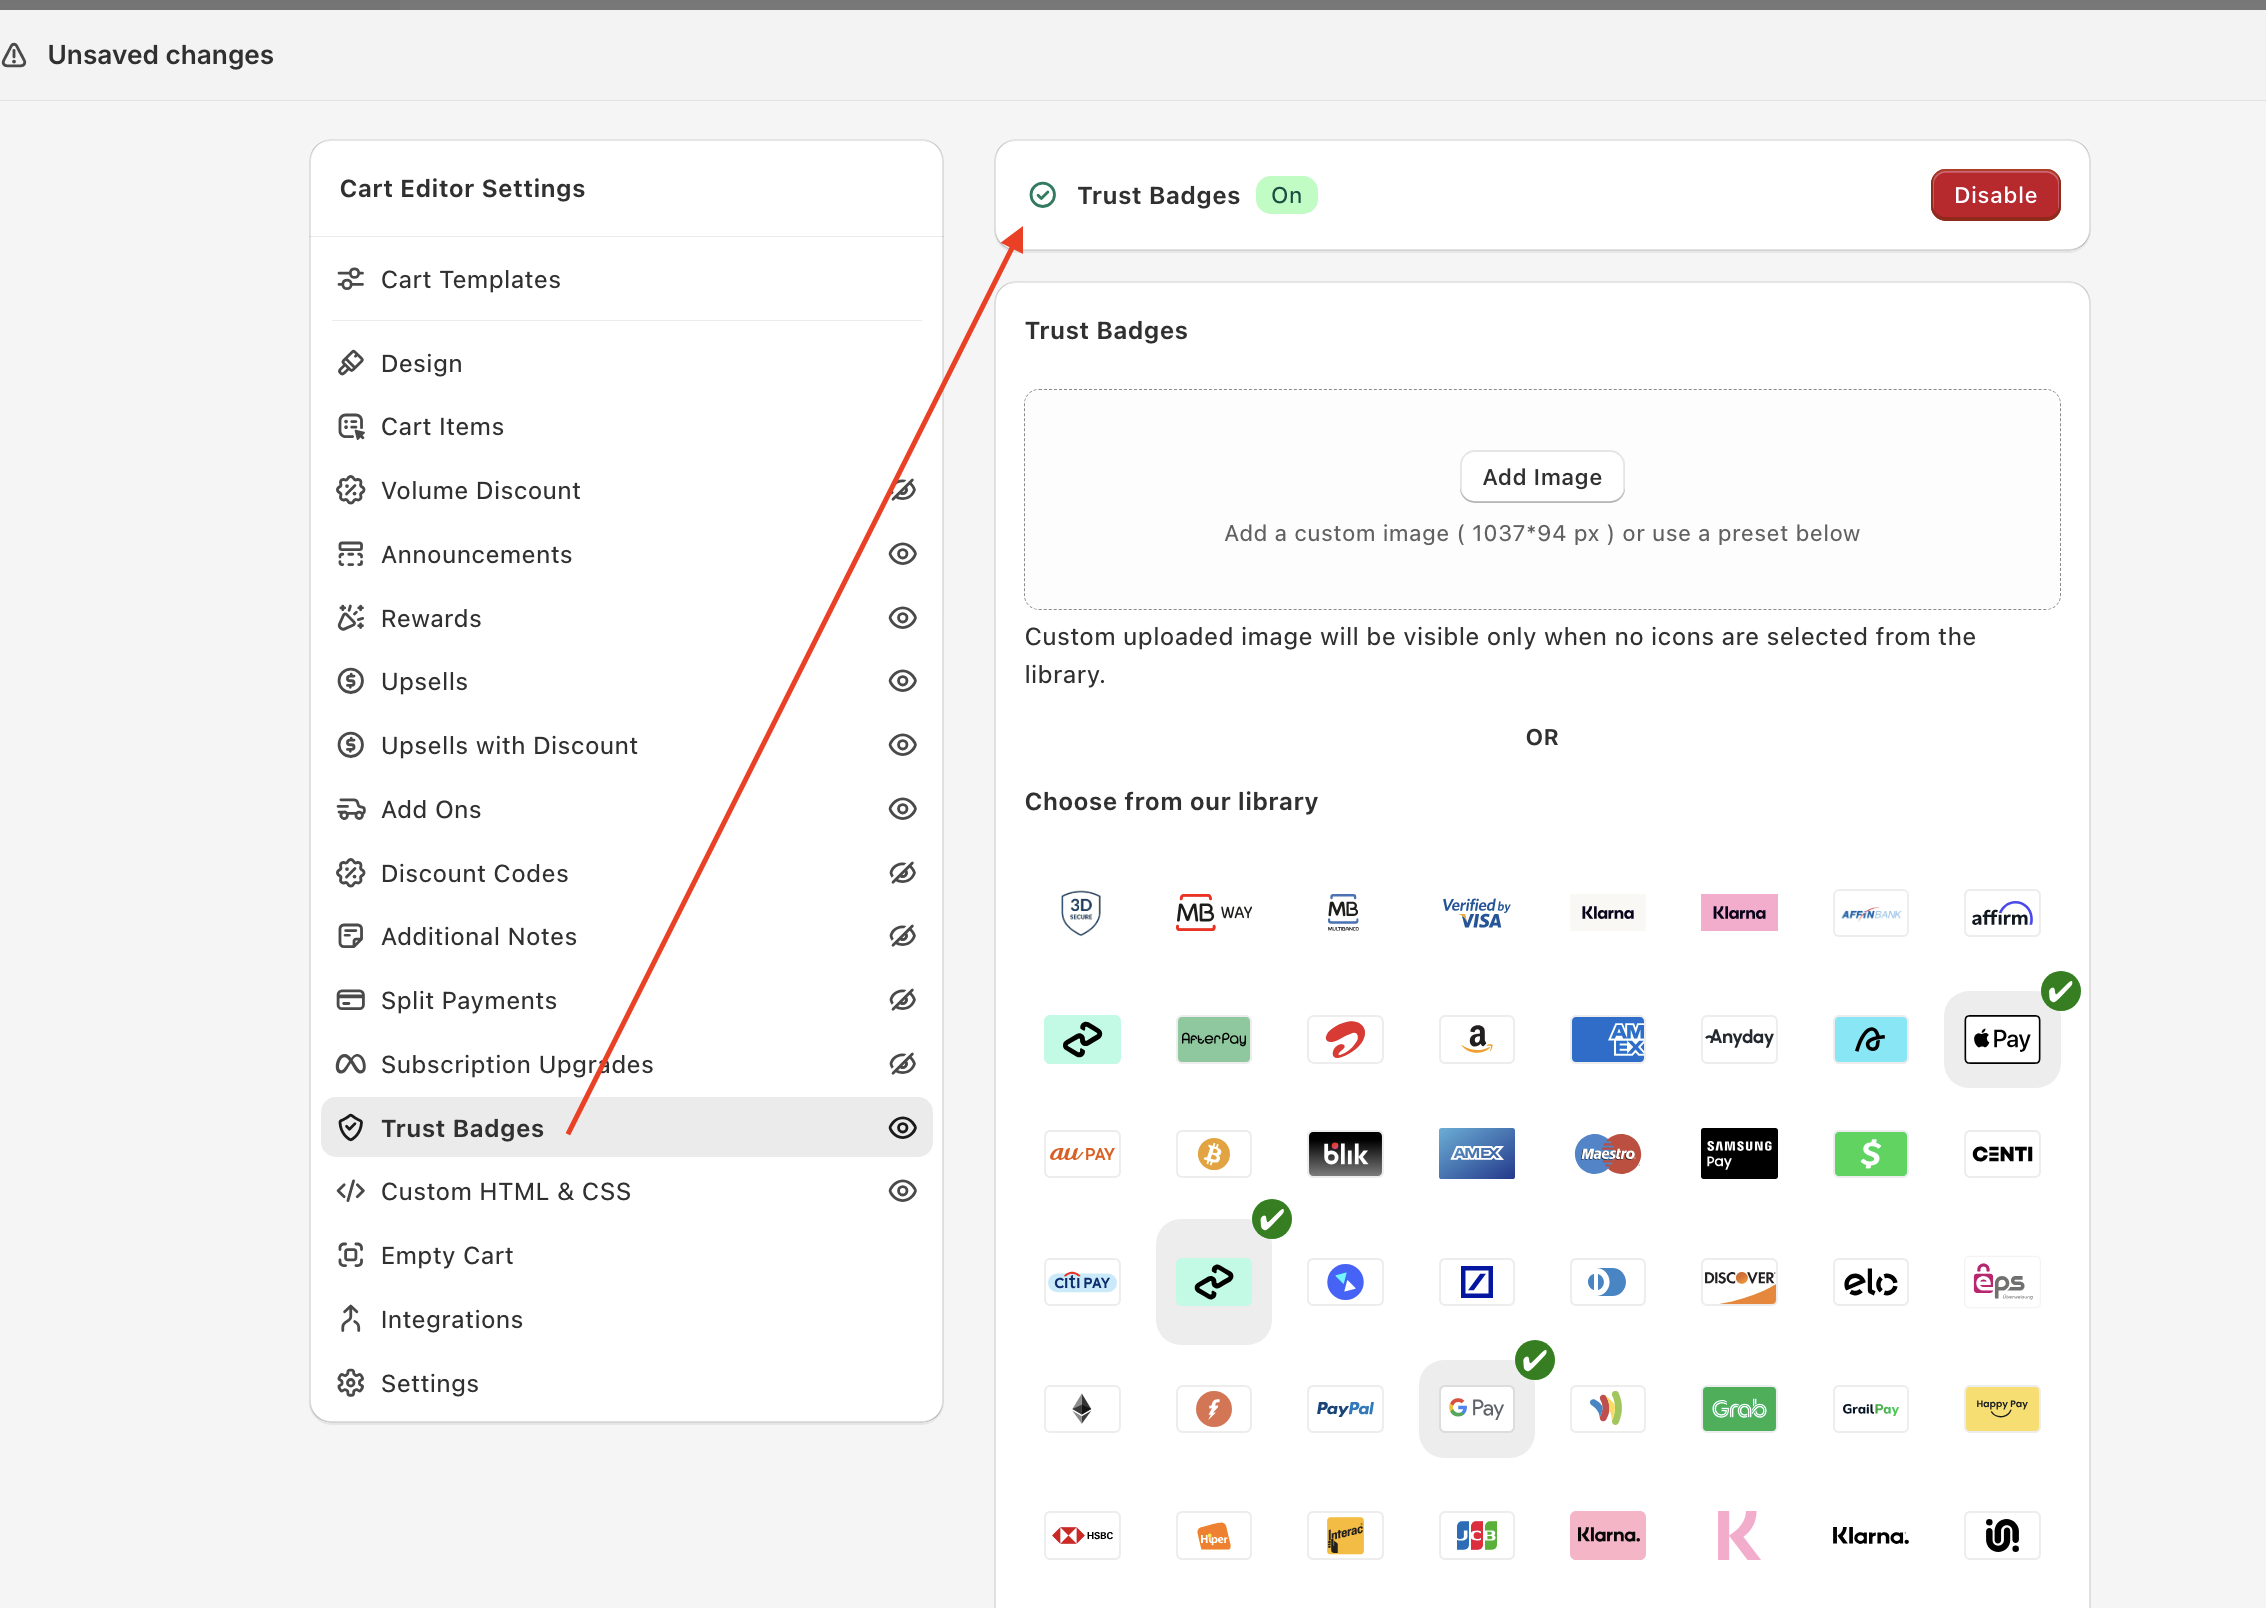
Once enabled, two configuration options become available: upload a custom image, or pick icons from the library. Until you choose either, Oxify shows a default payment-icons image.
Choose from the icon library
Under Choose from our library, Oxify offers a built-in library of payment-method icons you can browse right in the editor.
You can select multiple icons. Click any icon and a green checkmark appears on it, showing it's been added to your cart drawer. Click again to deselect.
Pick the icons that match the payment methods you actually accept. Showing icons for payment methods customers can't actually use is misleading and erodes trust instead of building it.
Or upload your own image
If you'd rather use a custom strip — for example a single composite image showing all your payment methods plus a "Money-back guarantee" badge — click Add Image in the Trust Badges section. The upload accepts JPG and PNG files.
Recommended dimensions: 1037 × 94 px. Sticking to these dimensions keeps the badge crisp without distortion.
Important: Your custom image is only visible when no icons are selected from the library. If you've selected any library icons, those will display instead and the custom image is hidden. Pick one approach or the other — don't try to mix.
Use a custom image if you want full control over how the badges are arranged, want to combine payment icons with security claims (e.g. "256-bit SSL"), or need badges that aren't in the built-in library. Use the icon library if you just want clean, branded payment icons with no extra design work.
Trust Badge Styles
Below the icon picker, the Trust Badge Styles panel controls how the library icons render. (A custom uploaded image always fills the available width, so these two settings don't change it.)
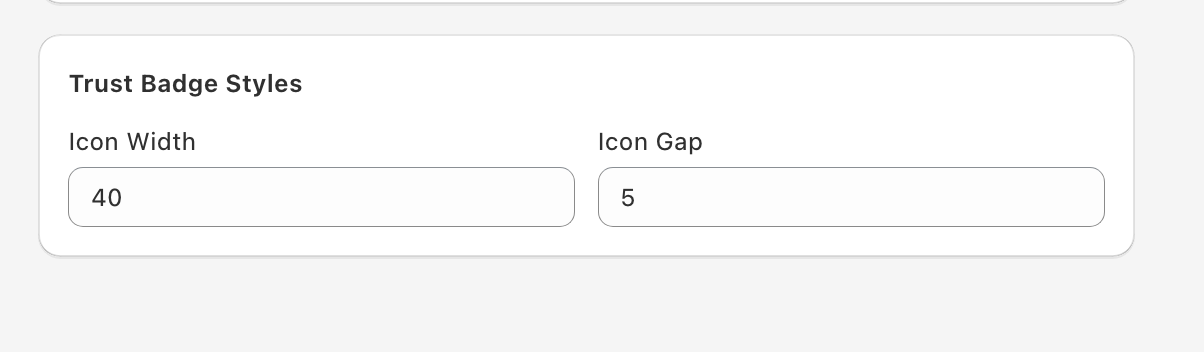
- Icon Width (px) — default 40. Sets the width of each icon. Larger values make icons more visible but eat into the cart drawer width. 30–50px works well for most stores.
- Icon Gap (px) — default 5. Sets the spacing between icons. Tighter (2–4px) feels packed; looser (8–12px) feels airy. 5px is a balanced default.
These two values give you fine-grained control over the visual density of the badge strip.
Where it appears
The badges show at the bottom of the checkout area, below the checkout button (and the Continue Shopping link, if it's on).
How many icons should I show?
Show only the payment methods you accept. Common rules of thumb:
- 4–6 icons works for most stores — the universal set of card brands and wallets your customers expect.
- Add region-specific options if you sell internationally and the library includes the local payment methods your customers use.
- Avoid showing 10+ icons in a single row — it starts looking like clutter rather than reassurance, and on mobile the icons get tiny.
Custom template (advanced)
If you have React (JSX) skills, you can replace this section's built-in layout with your own template. The Custom template card appears at the bottom of this panel only after you tick Enable custom template editors under Settings → Custom templates in the Oxify app and save. It needs technical skills, and our support team can't help debug custom templates.
See Custom templates for how to turn the editors on and the props each template receives.
Trust badges work best when they reinforce specific payment safety, not when they're vague decorative shields. The Apple Pay logo says "your fingerprint will pay" — concrete and trusted. A generic "100% secure" badge says nothing concrete and most customers ignore it. Pick logos customers recognize over generic security graphics.