
Split payments and pay-later messaging
Configure the in-cart "buy now, pay later" message — design, custom text with installment tokens, provider logo picker, and the installments quantity.
Split Payments lets you display a "buy now, pay later" message inside your cart drawer that tells customers they can pay in installments through providers like Afterpay, Klarna, PayPal, or Sezzle. The message sits in the checkout area, above the subtotal, and is fully customizable.
Open Cart Editor → Split Payments to configure it. (In the Oxify app, go to Home, click Manage Cart Drawer — or Set up Cart Drawer — on the Cart Drawer card, then click Split Payments in the Cart Editor's left sidebar.) Click Save when you're done.
Step 1: Enable Split Payments
At the top of the panel, click the Enable button to turn the feature on. While it's off, the panel header shows Split Payments with an Off badge and a black Enable button next to it; once on, it reads Split Payments active with an On badge and a red Disable button.
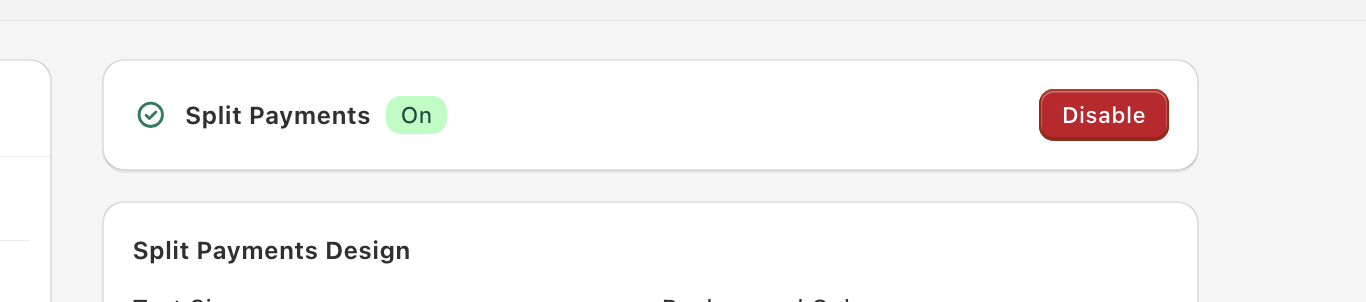
The Split Payments Design and Split Payments Settings cards sit below the header.
Step 2: Style the message (Split Payments Design)
The Split Payments Design panel controls how the message looks visually.
[Screenshot: Split Payments Design panel with Text Size, Background Color, Border Radius, Padding fields]
- Text Size (px) — default 14. Sets how big the split payments text appears. 14px works for most carts; bump to 16px if you want it more prominent.
- Background Color — hex color (default
#97BC62, a soft green). Sets the background of the split payments callout. Use a subtle color so it reads as informational, not promotional. - Border Radius (px) — default 4. Controls corner rounding on the callout. 4px is a balanced default; 0px gives sharp corners; 8–12px gives soft, modern corners.
- Padding Horizontal (px) — default 16. Internal spacing on the left and right.
- Padding Vertical (px) — default 8. Internal spacing on the top and bottom.
The defaults work well for most stores — only adjust if the message looks cramped or out of place against your cart drawer's color scheme.
Step 3: Configure the message text
Below the design panel, the Split Payments Settings section is where you write the actual message.
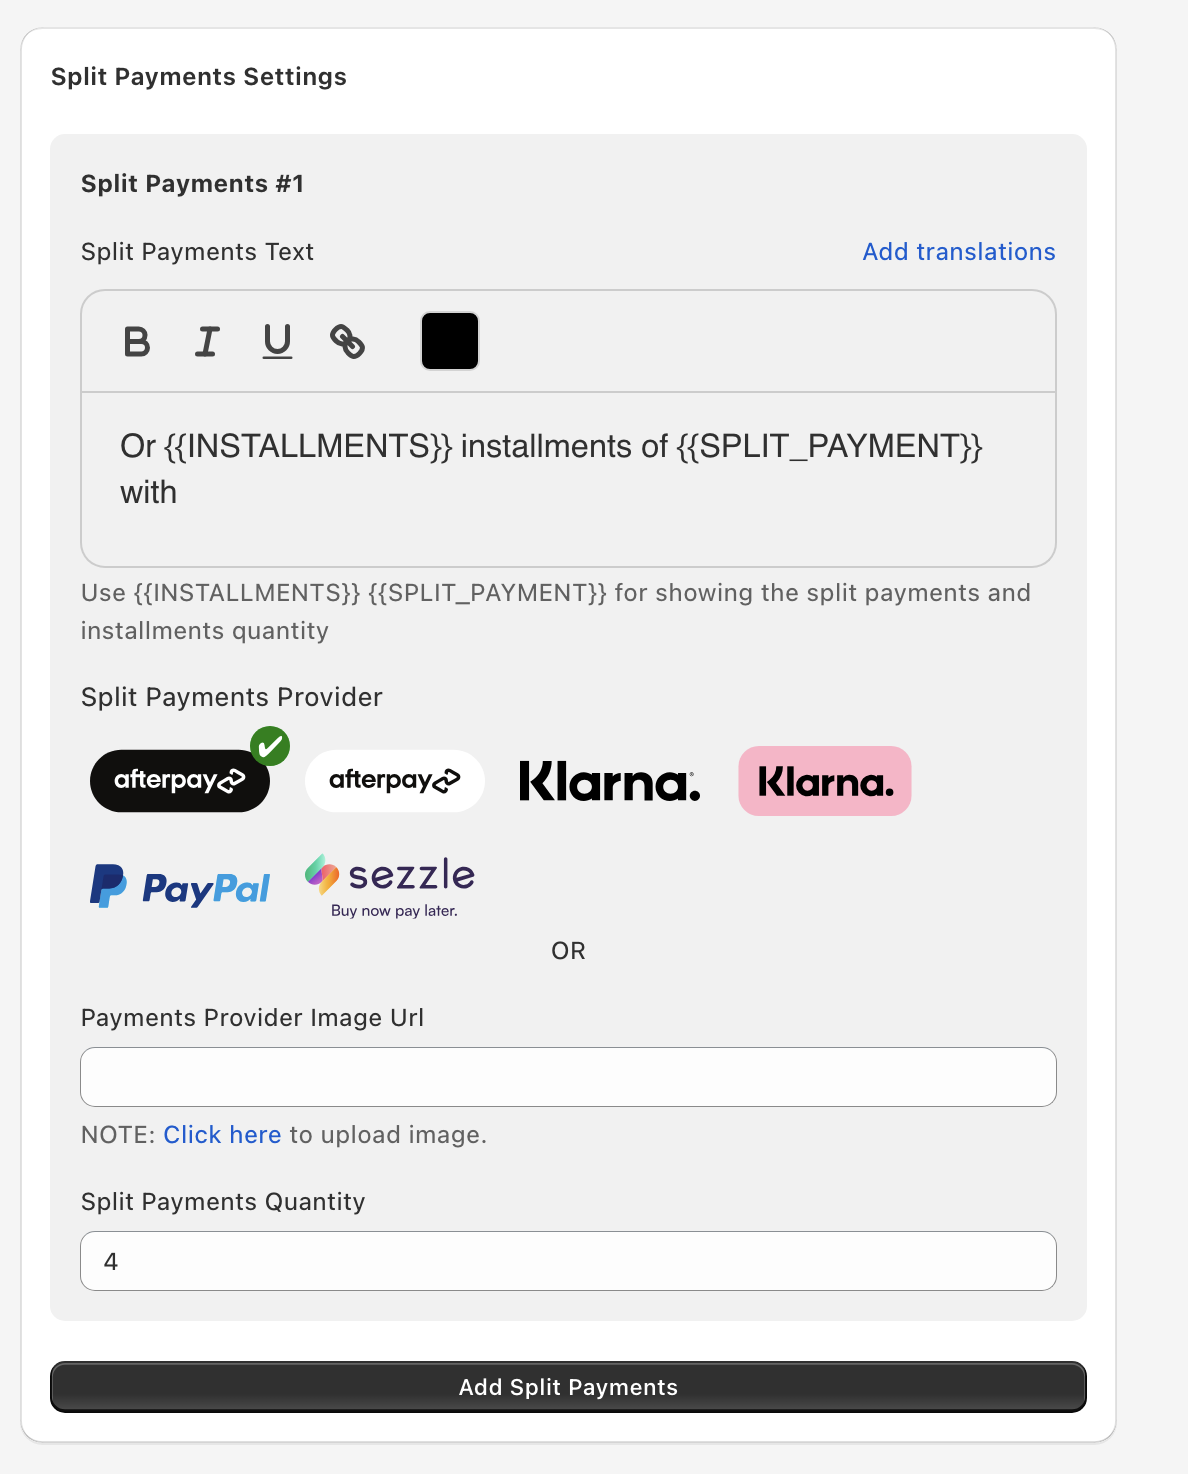
In the rich text editor, write what you want customers to see. The default is:
Or {{INSTALLMENTS}} installments of {{SPLIT_PAYMENT}} with
The editor supports bold, italic, underline, links, and color formatting. The provider logo you pick (next step) is automatically displayed at the end of this text.
Available tokens
Two dynamic tokens get replaced with live values at render time:
{{INSTALLMENTS}}— replaced with the number of installments (e.g. "4").{{SPLIT_PAYMENT}}— replaced with the per-installment amount in your store's currency (e.g. "$25").
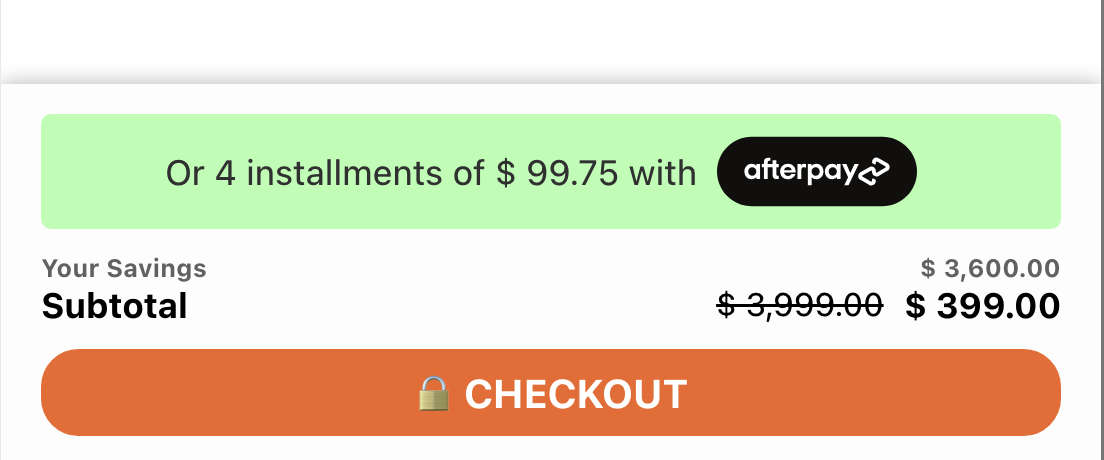
So Or {{INSTALLMENTS}} installments of {{SPLIT_PAYMENT}} with renders as "Or 4 installments of $25 with [provider logo]" on a $100 cart.
You can rewrite the message however you want — for example:
Pay in {{INSTALLMENTS}} payments of {{SPLIT_PAYMENT}}Or {{INSTALLMENTS}}x {{SPLIT_PAYMENT}} interest-freeSplit into {{INSTALLMENTS}} payments of {{SPLIT_PAYMENT}} with
Add translations
Click Add translations in the top-right corner of the text editor to add per-language overrides. The translation slots use the same tokens — only the wrapping text changes per language.
Step 4: Pick a provider logo
Below the message, under Split Payments Provider, select which payment provider logo to display. Two options:
Option A — Pick from the built-in providers
Click any of the provider logos to select it. A green checkmark appears on the selected one. The built-in options are:
- Afterpay (black logo)
- Afterpay (white/light logo variant)
- Klarna (black wordmark)
- Klarna (pink badge)
- PayPal
- Sezzle
Pick the logo that matches the provider you've actually integrated with Shopify Payments or via a separate app. Showing an Afterpay logo without an Afterpay integration confuses customers at checkout.
Option B — Upload your own logo (Payments Provider Image Url)
If you use a provider that's not in the built-in list (Affirm, Zip, Tabby, Tamara, Splitit, etc.), paste a public image URL into the Payments Provider Image Url field below the provider logos.
If you don't have the image hosted yet, click Click here in the field's help text ("NOTE: Click here to upload image."). It opens the Files page in your Shopify admin (Content → Files) in a new tab. Upload the image there, copy its URL, and paste it into the field.
Once a custom image URL is set, it overrides any selected built-in provider logo.
Step 5: Set the Split Payments Quantity
Below the provider section, the Split Payments Quantity field sets the number of installments to display in the message — the value that fills the {{INSTALLMENTS}} token.
Most pay-later providers split orders into 4 payments, so 4 is the standard value. Use whatever number matches the actual installment plan you offer through your provider:
- 4 — Afterpay, Klarna Pay in 4, PayPal Pay in 4, Sezzle (most common).
- 3 — Some Klarna and Affirm plans.
- 6 or 12 — Affirm monthly plans, longer-term options.
The {{SPLIT_PAYMENT}} per-installment amount is calculated automatically based on the cart total divided by this quantity.
Show more than one message
Each message is its own Split Payments #1, Split Payments #2, … block with its own text, logo, and quantity. Click Add Split Payments at the bottom to add another block (for example, one for each provider you offer). The first block can't be deleted; the others have a delete button.
Step 6: Save and test
Save your changes, then open your storefront in incognito and add a product to the cart. The split payments message should appear inside the cart drawer in the checkout area, above the subtotal, with the per-installment amount auto-calculated from your cart total.
A note on compliance
Pay-later providers like Afterpay, Klarna, and Affirm have their own brand and disclosure guidelines. Some providers require specific wording, "interest-free" claims to be qualified with terms, or links to APR disclosures. Check your provider's merchant guidelines before going live with custom messaging.
If you're not sure, the safe default is the original template — Or {{INSTALLMENTS}} installments of {{SPLIT_PAYMENT}} with [logo] — which describes the offer factually without making any promotional claims.
Split payments messaging is one of the highest-impact AOV levers in the cart. Customers staring at a $200 cart often abandon — but seeing "Or 4 payments of $50" reframes the same purchase as feeling more affordable. Make sure the message is visible (not hidden by other cart features) and the math actually matches what the provider charges at checkout.
Custom template (advanced)
If you have React (JSX) skills, you can replace this section's built-in layout with your own template. The Custom template card appears at the bottom of this panel only after you tick Enable custom template editors under Settings → Custom templates in the Oxify app and save. It needs technical skills, and our support team can't help debug custom templates.
See Custom templates for how to turn the editors on and the props each template receives.