
Custom HTML and CSS in the cart
Inject custom HTML and CSS for advanced cart customization.
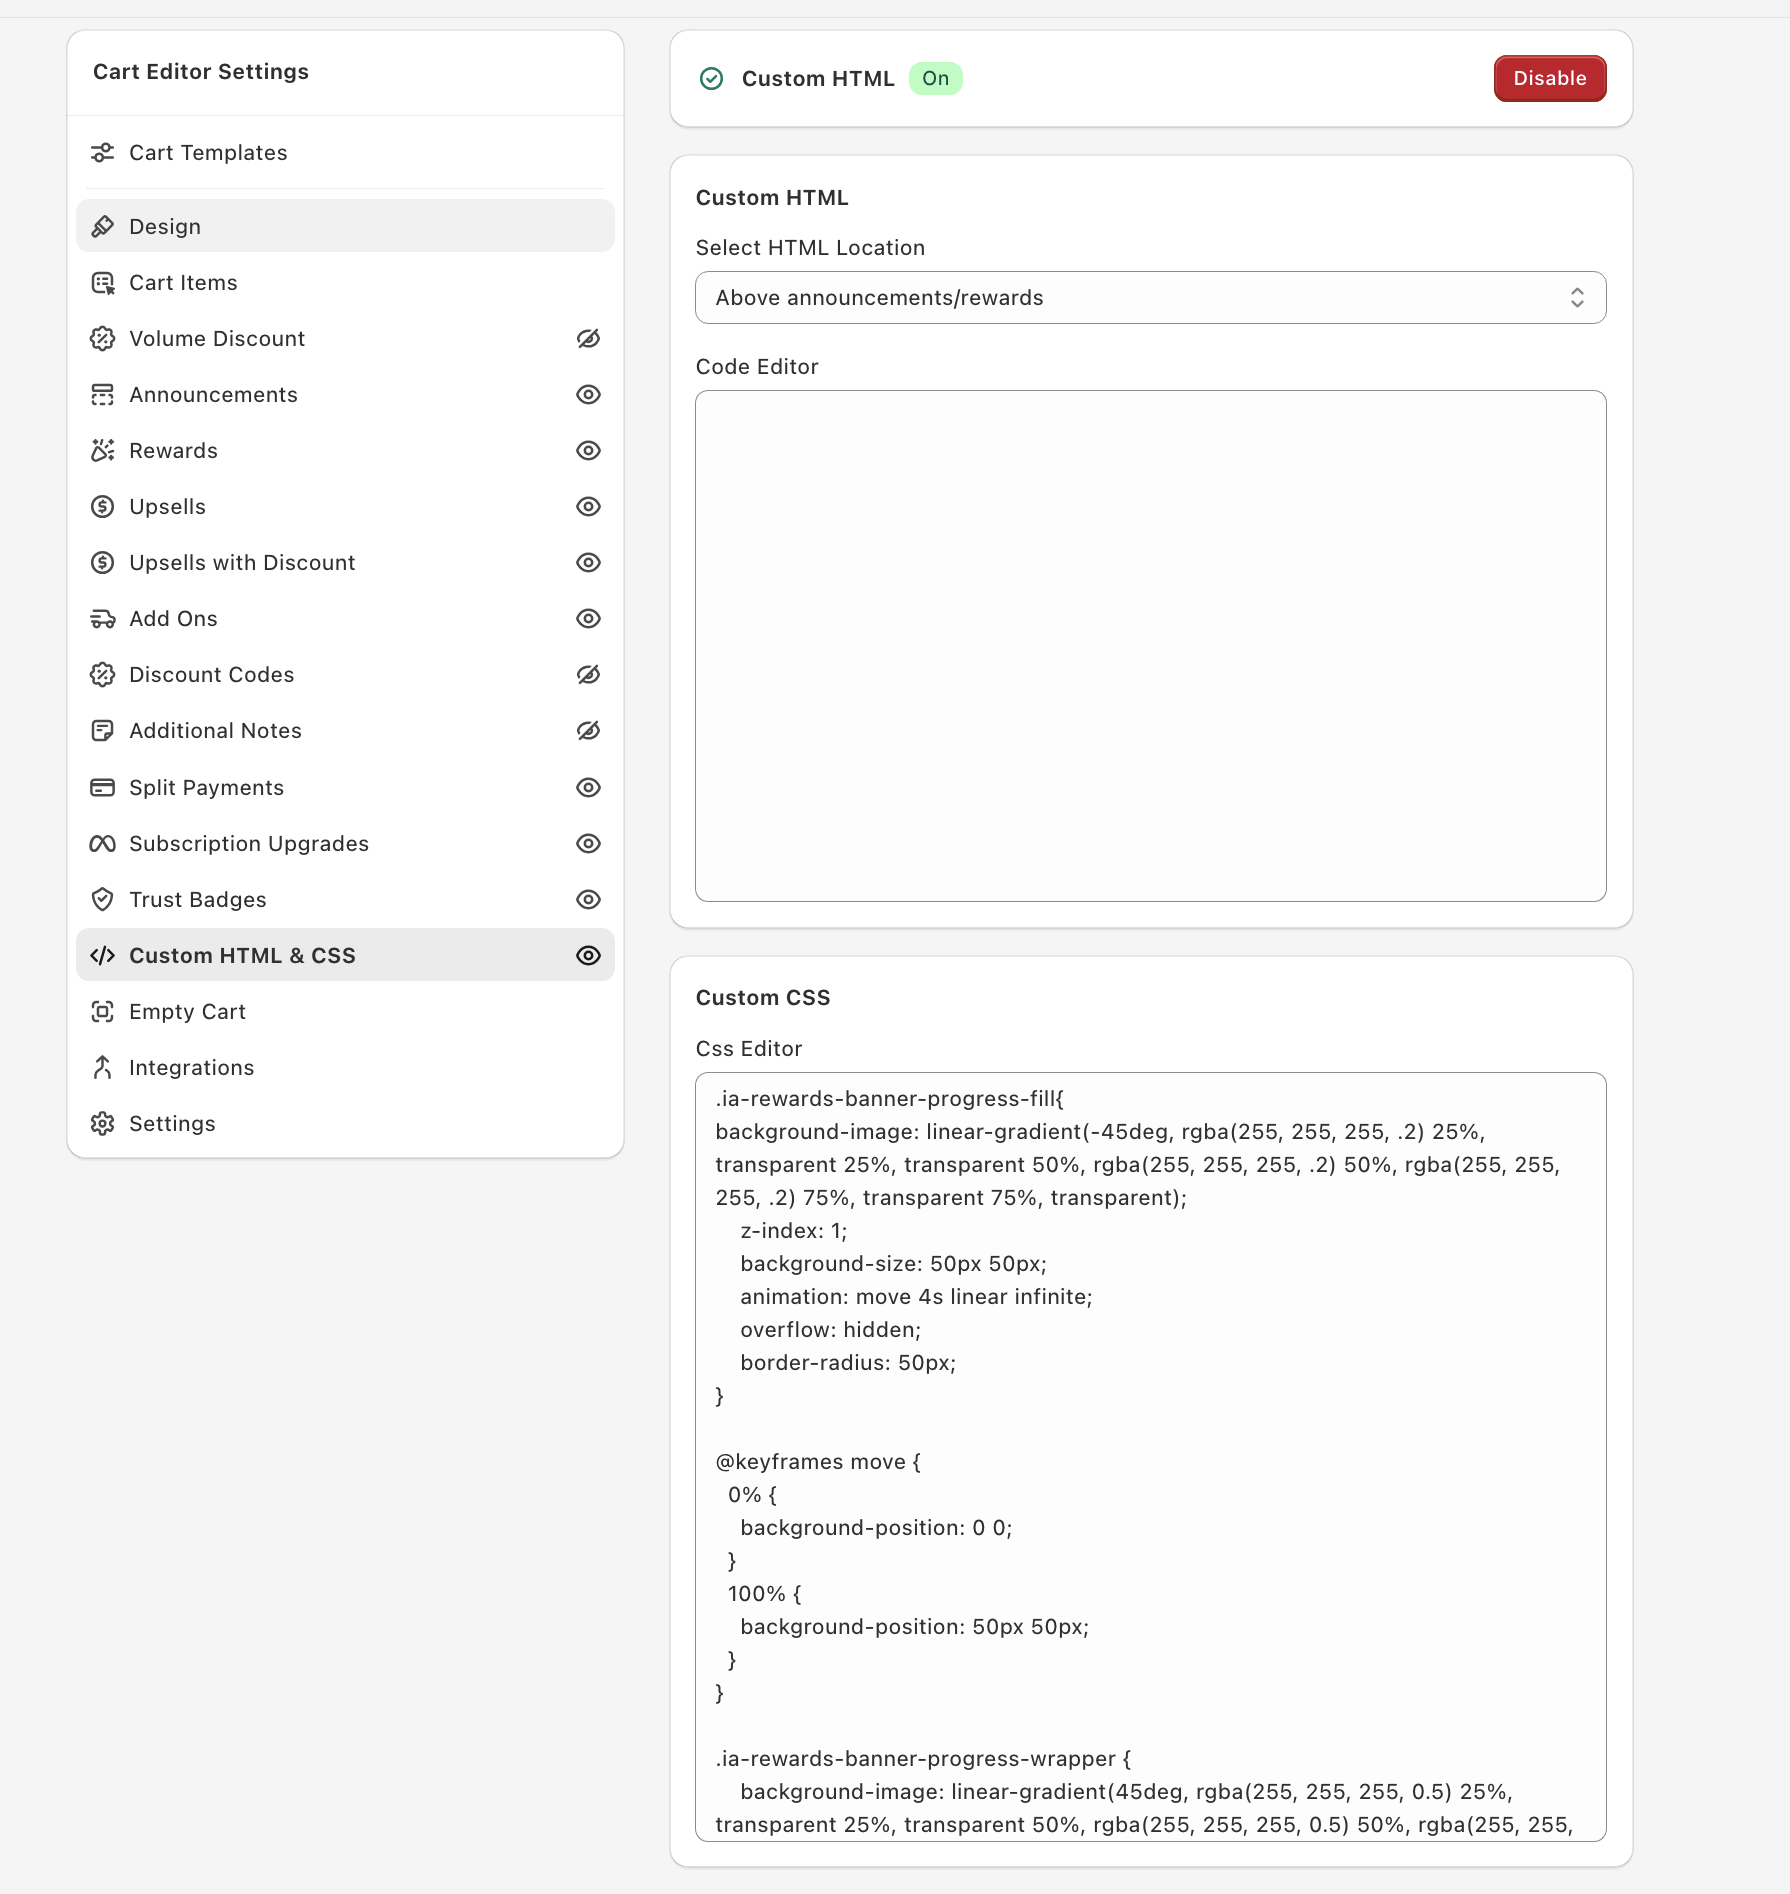
Advanced — for merchants comfortable with HTML and CSS. Find it in the Cart Editor under Custom HTML & CSS, and click Enable there (the badge changes from Off to On) — nothing is applied while it is off. Step-by-step: How to add custom CSS?
Two slots
Custom HTML
Injected into one of eight locations in the drawer: Above announcements/rewards, Below header/announcements/rewards, Between each line item, Above footer/add-ons, Above checkout button, Below checkout button, Bottom of cart and On empty cart screen. Pick the location in Select HTML Location and write your code in Code Editor; each location keeps its own block. Every location except On empty cart screen only shows when the cart has items. Use for custom callouts, embeds, or merch-specific copy.
Custom CSS
Written in the Css Editor field. Oxify adds it to the page exactly as written, so it isn't scoped to the cart for you — start your selectors with #ia-upsell-cart-parent (the element that wraps the drawer's contents). Use specific selectors so you don't break the editor preview.
Best practices
- Test in preview before saving — broken CSS can hide the entire drawer.
- Use specific class selectors, not generic tags.
#ia-upsell-cart-parent .my-banneris safer thandiv. - Avoid
!importantunless you really need to override a base style. <script>tags in custom HTML are run when the block is shown, so keep any script short and avoid loading heavy external resources.
When to ask for help
If your custom CSS works in preview but not on the live storefront, the issue is usually theme CSS specificity. Reach out to support with a screenshot and your snippet.