
Custom JSX template
Design your own countdown timer with a React (JSX) component. Learn the timer prop, copy a tested example, and understand the sandbox and the error messages.
If none of the 17 templates looks right, you can write your own. You give the editor a small React component, and it draws your component in place of a built-in template. The countdown, the title and the labels are handed to your code, and you decide how they look.
This needs JSX and React knowledge
You write real code here. If you don't write code, pick a design from the template gallery instead, or ask a developer to write the component for you. The example on this page is a good starting point to hand over.
Where to find it: Oxify Countdown → Create timer → Design tab → Custom template → Use my own JSX template
The card is the first card on the Design tab for every timer type. It starts switched off.

Switch it on
Open the timer's editor and click the Design tab.
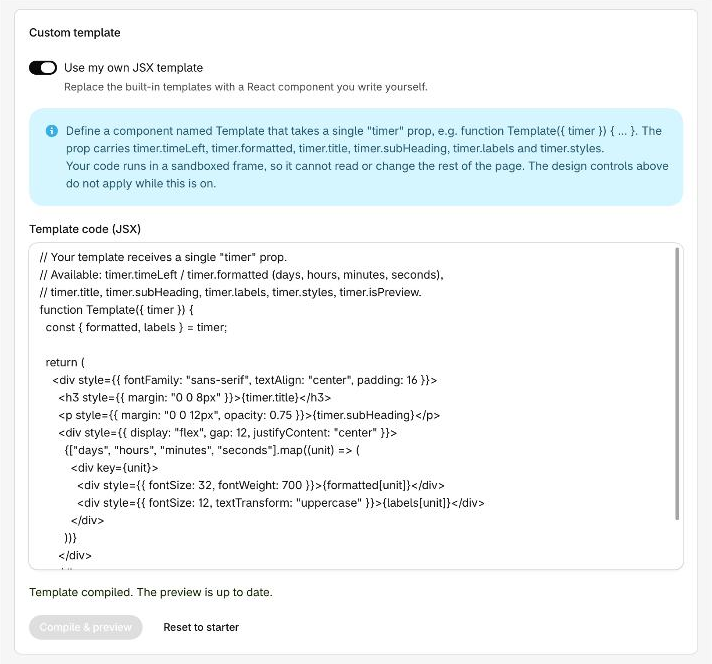
Turn on Use my own JSX template. A blue note and a Template code (JSX) box appear. If the box was empty, it is filled with starter code.
Edit the code, then click Compile & preview. The preview at the top of the editor shows your component.
When it looks right, click Save in the bar at the top of the editor.
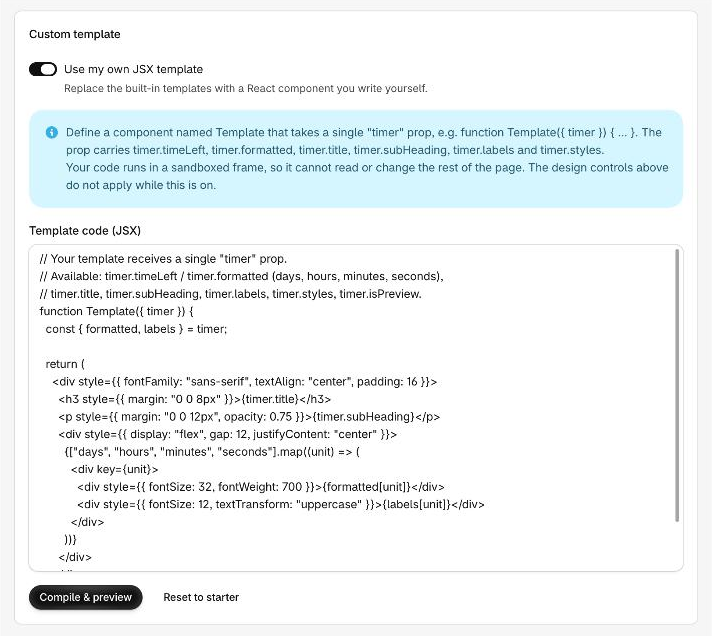
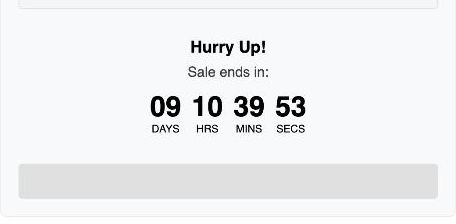
The starter code draws the title, the subheading and four numbers with their labels in plain text. It is the safest place to begin.
What changes while it is on
- The Design tab shrinks to this one card. Timer Style, Card, Spacing, Typography, Button, Icons, Positioning, Design options and the template color cards are all hidden. The note in the card says the design controls do not apply while the switch is on.
- The Template card disappears from the Content tab. A custom template ignores the gallery.
- Everything else still works. The title, subheading, labels, timing, publishing and placement keep working, and your code receives them.
- You draw everything. The built-in button and close button are not added for you. The button text and link are available to your code as
timer.ctaTextandtimer.ctaUrl.
The timer prop
Your code must define one component named Template. It receives a single prop named timer, so it starts like this: function Template({ timer }) { ... }.
| Field | What it holds |
|---|---|
timer.timeLeft | The time left, as numbers: days, hours, minutes and seconds. |
timer.formatted | The same four values as text, with a leading zero below 10, for example "07". |
timer.title | Your title. It is in the shopper's language when you have translated it. |
timer.subHeading | Your subheading. It is in the shopper's language when you have translated it. |
timer.labels | The unit labels from Timer labels on the Content tab: days, hours, minutes and seconds. |
timer.styles | The timer's saved design settings. Colors are stored as hex digits without a #, for example FFFFFF. |
timer.isPreview | true in the editor preview. |
The prop also carries timer.ctaText, timer.ctaUrl, timer.name, timer.id, timer.type, timer.settings, timer.advancedSettings and timer.shopLocale.
Your component is drawn again every second with new timer.timeLeft and timer.formatted values, so the countdown keeps moving. Write plain JSX in the Template function. There is no module system, so don't use import. React is available as a global name.
A complete example
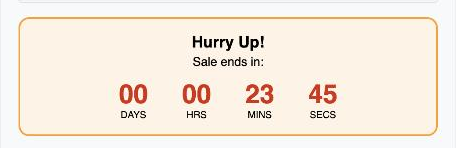
This template draws a cream card with an orange border. The numbers turn red in the last hour. It uses timeLeft for the check, which needs numbers, and formatted for what it shows, which needs two-digit text.
To try it:
In the Template code (JSX) box, select all the text (Command+A on a Mac, Ctrl+A on Windows) and paste the example over it. The box now says You have uncompiled edits. Press Compile & preview to apply them.
Click Compile & preview.
Wait for Template compiled. The preview is up to date. The first compile can take several seconds.
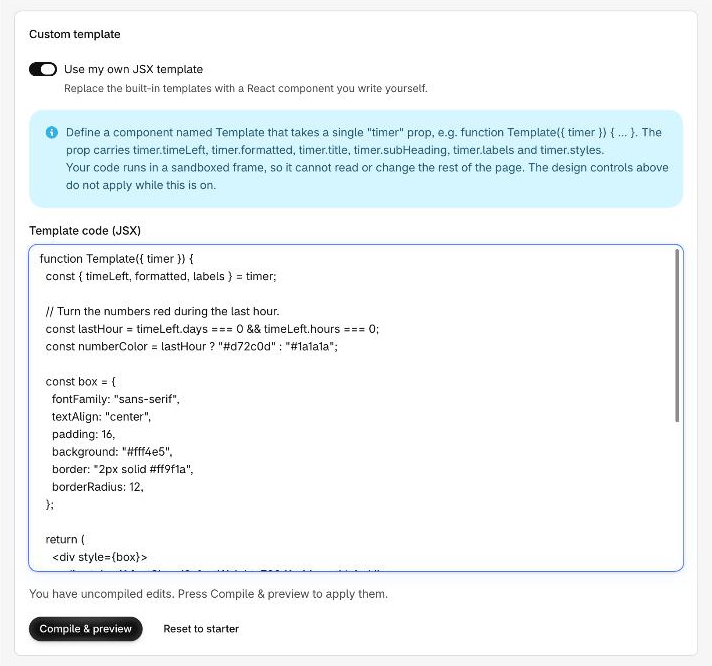
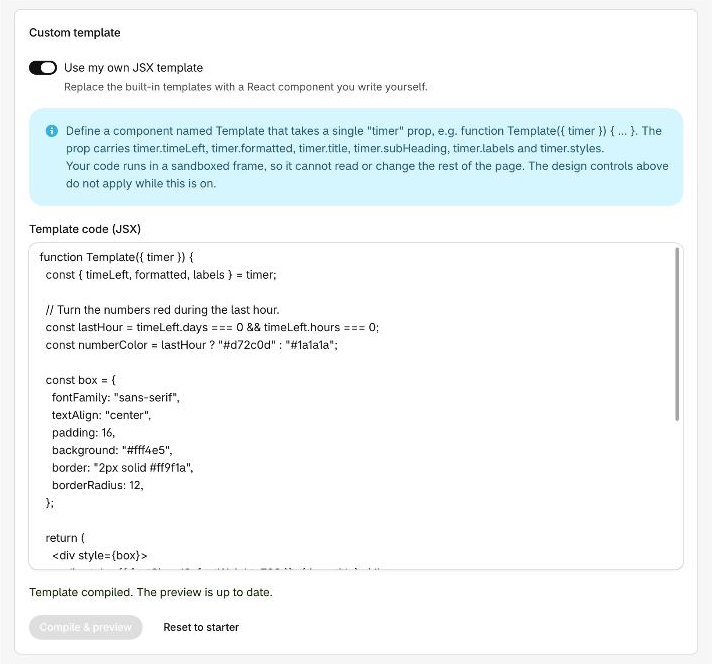
The preview now shows the example.
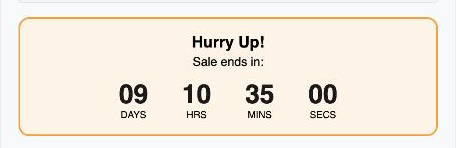
To see the last-hour color, go to the Content tab and set Timing to Fixed minutes with a value below 60, for example 30. The numbers turn red.
Compile & preview
Typing in the box does not change the preview. Your edits take effect only when you click Compile & preview. This keeps the preview from breaking on code you have not finished.
| You see | What it means |
|---|---|
| You have uncompiled edits. Press Compile & preview to apply them. | The box holds changes the preview has not seen. |
| Compiling… on the button | The preview is working. The editor waits up to 15 seconds. |
| Template compiled. The preview is up to date. | Your code ran. The button is greyed out until you edit the code again. |
| Your template did not compile. and a message | Something is wrong. See Fix an error. |
Reset to starter puts the starter code back in the box. It does not compile on its own, so click Compile & preview afterwards. It replaces what is in the box, so copy your code somewhere first.
If you clear the box, the starter code shows in grey as a hint. That grey text is not your code.
The sandbox and the CDN
Your code does not run on your store's page. It runs inside a sandboxed frame, a small page of its own. The frame cannot read or change the rest of the page, your theme, cookies or a shopper's session. It has a transparent background and grows to fit your markup.
Two things follow.
- It does not inherit your theme's fonts. Set
fontFamilyyourself, as the example does. - It needs a CDN. The frame downloads React from a public CDN (
cdn.jsdelivr.net) each time it loads. The editor also downloads a compiler there to preview your code. If your network, or a shopper's, blocks it, your template cannot draw. When you save, the code is compiled for you, so shoppers do not download a compiler, only React. The built-in templates download neither.
Fix an error
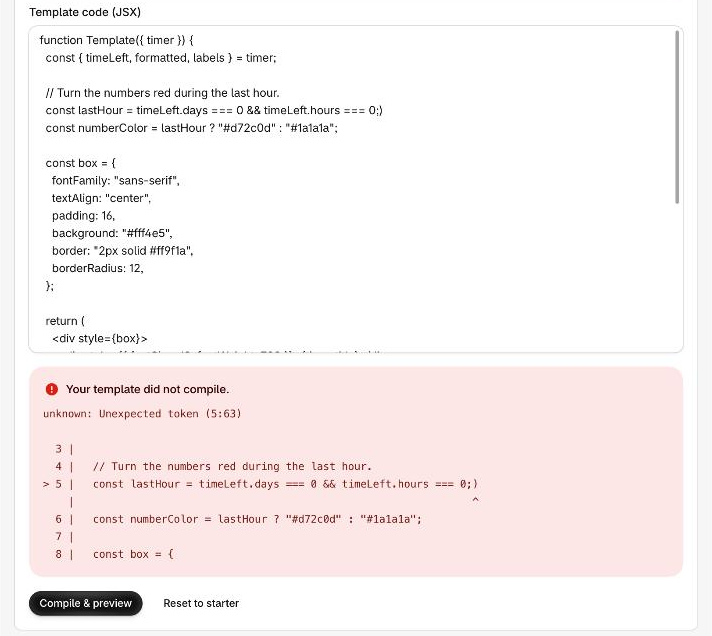
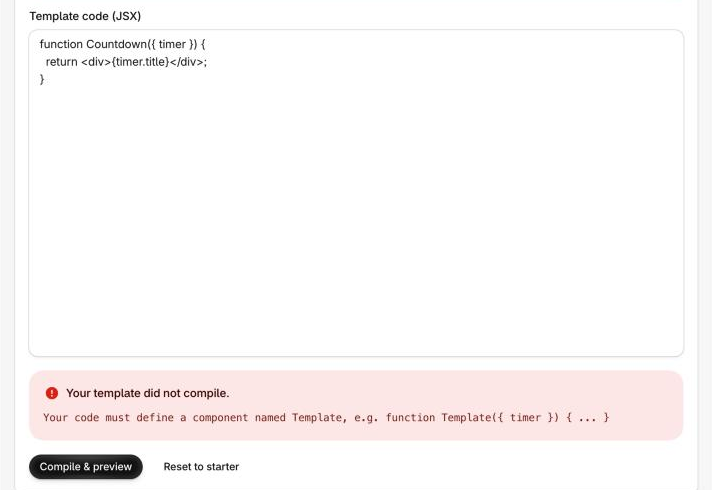
When something is wrong, the card shows a red banner called Your template did not compile. The preview shows the same message in a red box where the timer should be.
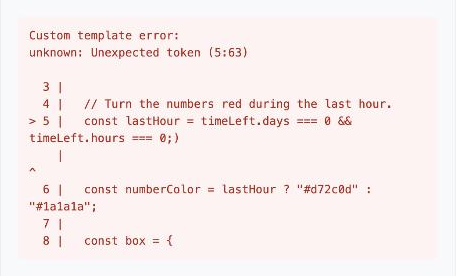
| Message | What it means | What to do |
|---|---|---|
Unexpected token (5:63) and a few lines of your code | A syntax mistake, such as a stray bracket. The numbers are the line and the column, and a caret points at the spot. | Fix that spot, then compile again. |
Your code must define a component named Template, e.g. function Template({ timer }) { ... } | No component with that exact name. | Name the function Template. |
A message such as Cannot read properties of undefined (reading 'value') | Your code compiled but failed while drawing. It read something that is not there. | Check the field names in the table above. |
| The preview did not respond. Check that your network allows loading React from the CDN, then try again. | The editor waited 15 seconds for an answer. | Check your connection and that cdn.jsdelivr.net is reachable, then compile again. |
| React could not be loaded in this browser. | The frame could not download React. | Allow cdn.jsdelivr.net on that network. |
| Template code (JSX) is required | You tried to save with the box empty. | Add code or switch the template off. |
If you switched browser tabs
If you click Compile & preview and move to another browser tab, the "preview did not respond" message can appear even though nothing is wrong. Come back to the editor tab. The status updates by itself.
Check before you save
The editor does not stop you from saving code that has an error. Only an empty box is refused. Always wait for Template compiled first. A template that fails shows its error message in place of the timer, for you and for shoppers.
Switch it off
Turn Use my own JSX template off to go back to the built-in templates. The Template card returns to the Content tab and the other cards return to the Design tab. Your code stays in the box, so you can switch the template back on later.
Next
- Templates: the 17 built-in designs
- Design options: tweak a built-in design without code
- Preview and publish: save a timer and put it live
- Timer not showing: if a published timer does not appear